Difference between revisions of "I2Rest Basic PowerApps Connector"
(Created page with "{{DISPLAYTITLE:Creating MS PowerApps connector to i2Rest Server}} This scenario shows you an example how to create PowerApps custom connector to i2Rest Server.<br/> It assume...") |
m |
||
| Line 1: | Line 1: | ||
| − | {{DISPLAYTITLE:Creating MS | + | {{DISPLAYTITLE:Creating MS Power Apps connector to i2Rest Server}} |
| − | + | This scenario shows you an example how to create Power Apps custom connector to i2Rest Server.<br/> | |
| − | This scenario shows you an example how to create | ||
It assumes that you have completed the case [[Configuring_OAuth2_authorization|Configuring OAuth2 authorization]] | It assumes that you have completed the case [[Configuring_OAuth2_authorization|Configuring OAuth2 authorization]] | ||
| − | 1. Open | + | 1. Open Power Apps Custom connector page:<br/> |
[[File:Power Apps - Mozilla Firefox 12.07.2020 18 22 17.png|500px]]<br/><br/> | [[File:Power Apps - Mozilla Firefox 12.07.2020 18 22 17.png|500px]]<br/><br/> | ||
| Line 69: | Line 68: | ||
[[File:Power Apps - Mozilla Firefox 12.07.2020 18 50 54.png|500px]]<br/><br/> | [[File:Power Apps - Mozilla Firefox 12.07.2020 18 50 54.png|500px]]<br/><br/> | ||
| − | We just finished creating a new MS | + | We just finished creating a new MS Power Apps Custom connector to i2Rest Server. |
Revision as of 20:23, 12 July 2020
This scenario shows you an example how to create Power Apps custom connector to i2Rest Server.
It assumes that you have completed the case Configuring OAuth2 authorization
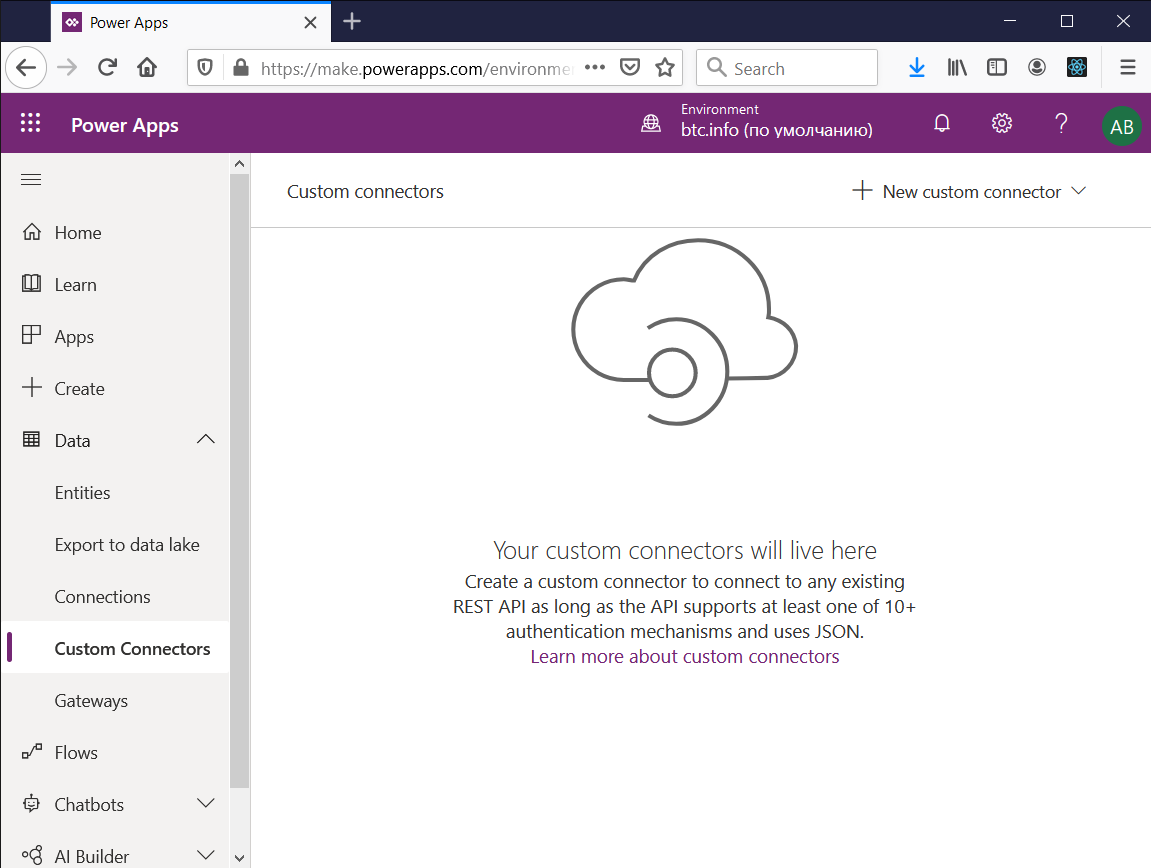
1. Open Power Apps Custom connector page:
2. Press "New custom connector":
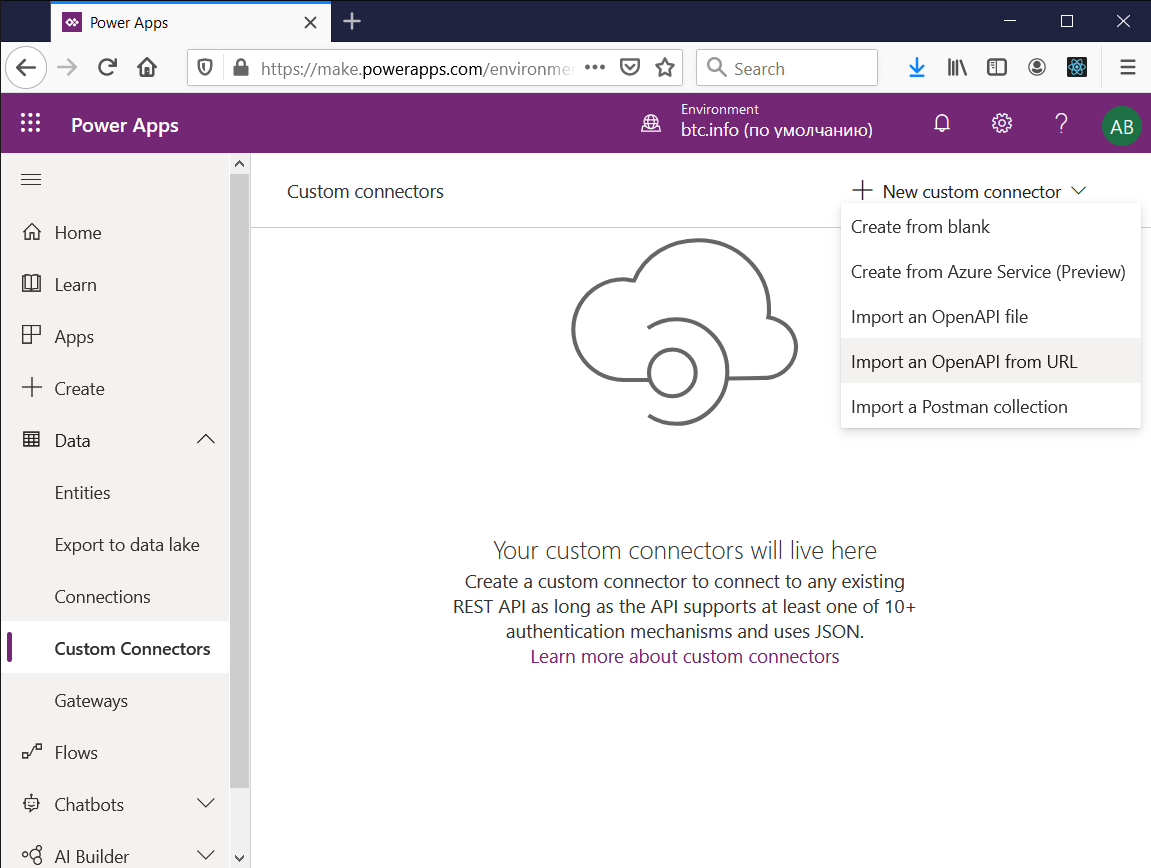
3. Select "Import an OpenAPI from URL":
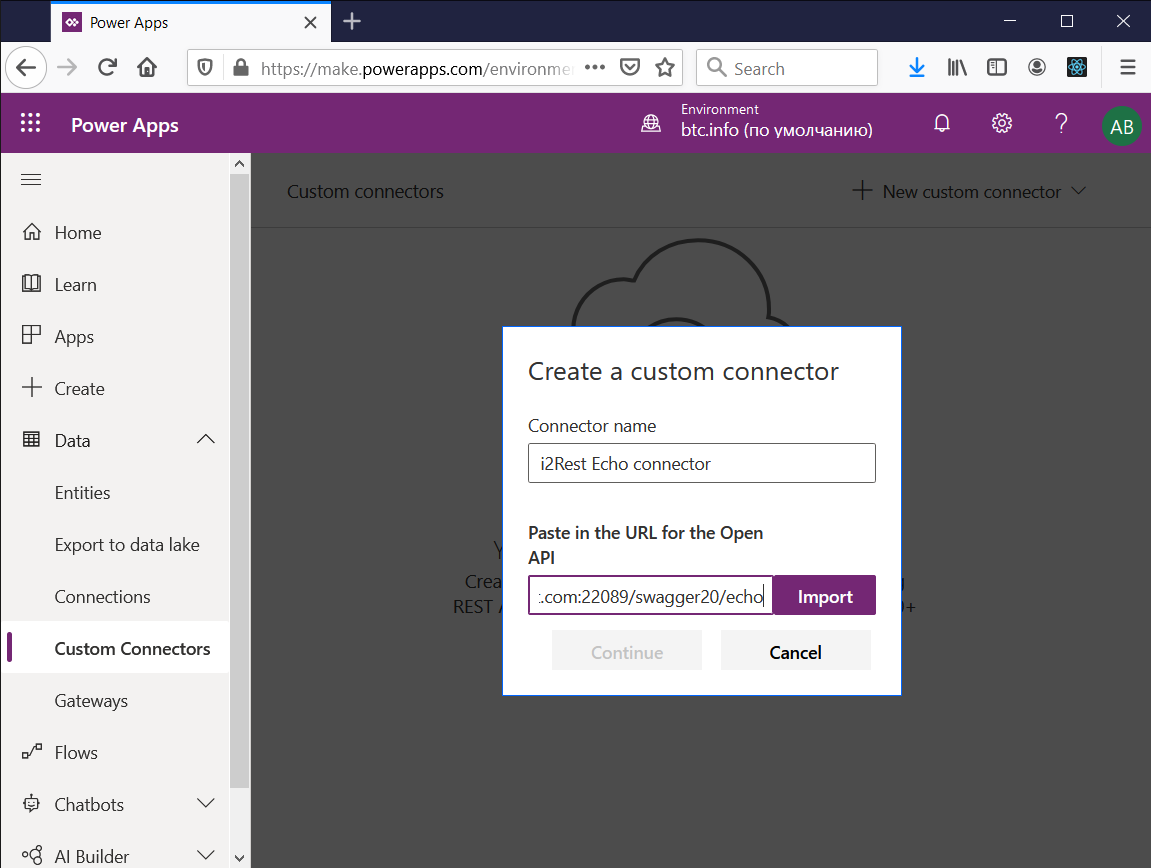
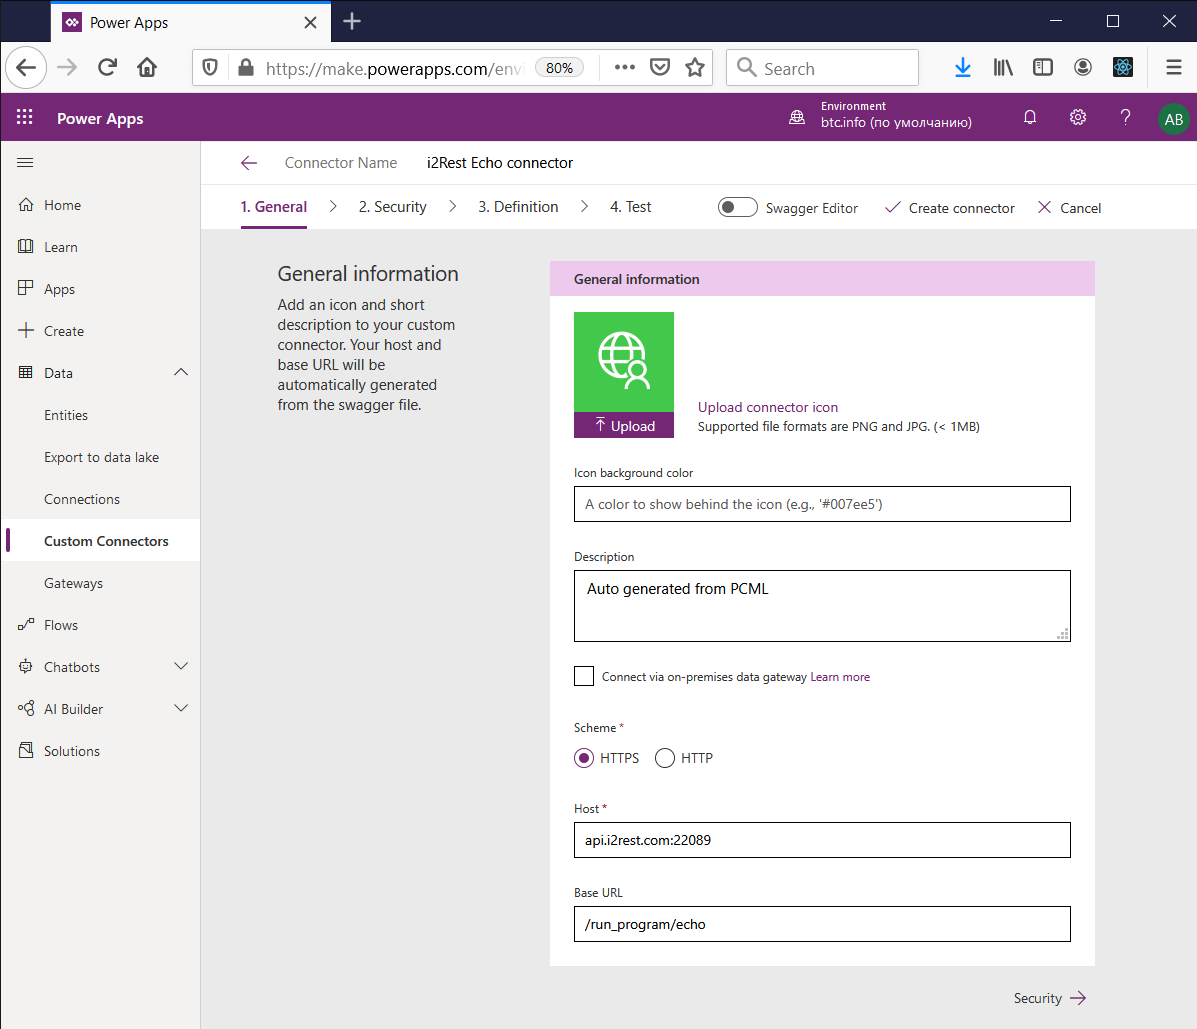
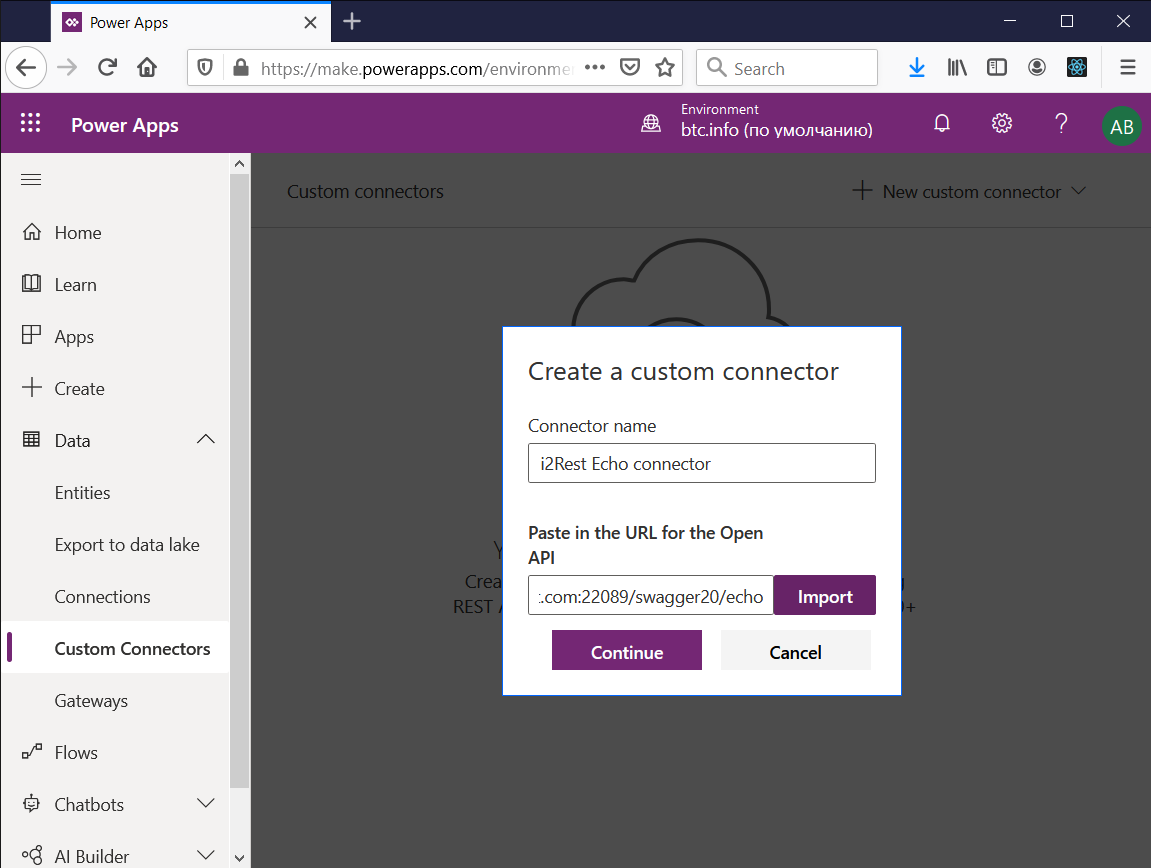
4. Enter Connector name and URL for the Open API (<your_i2Rest_server>/swagger20/<mount_point>):
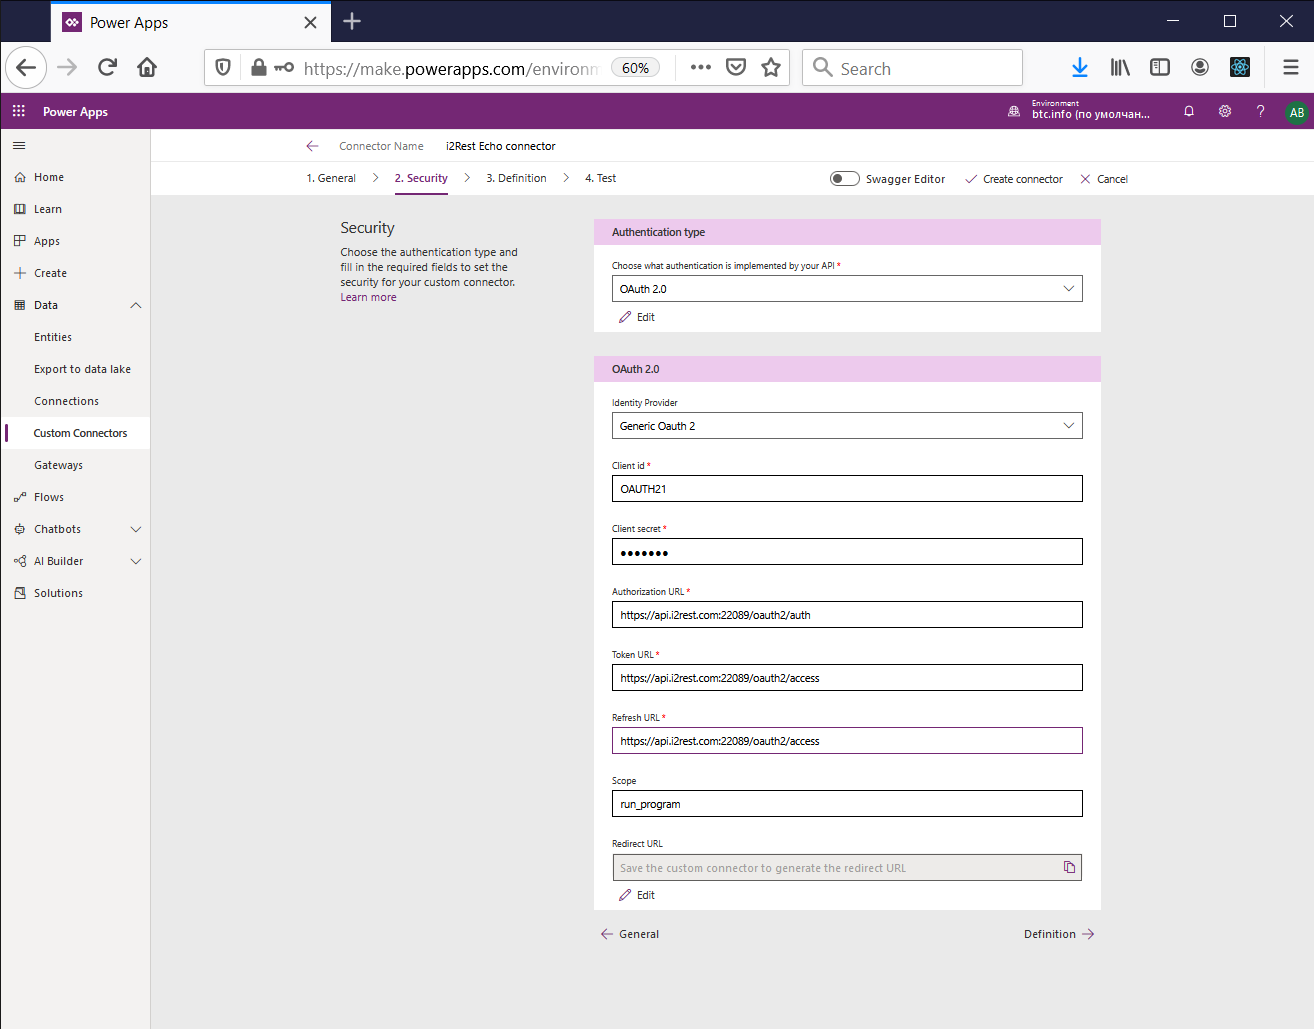
6. Press "Security->". Enter fields Client Id, Client secret. Copy value of Token URL and paste it to Refresh URL:
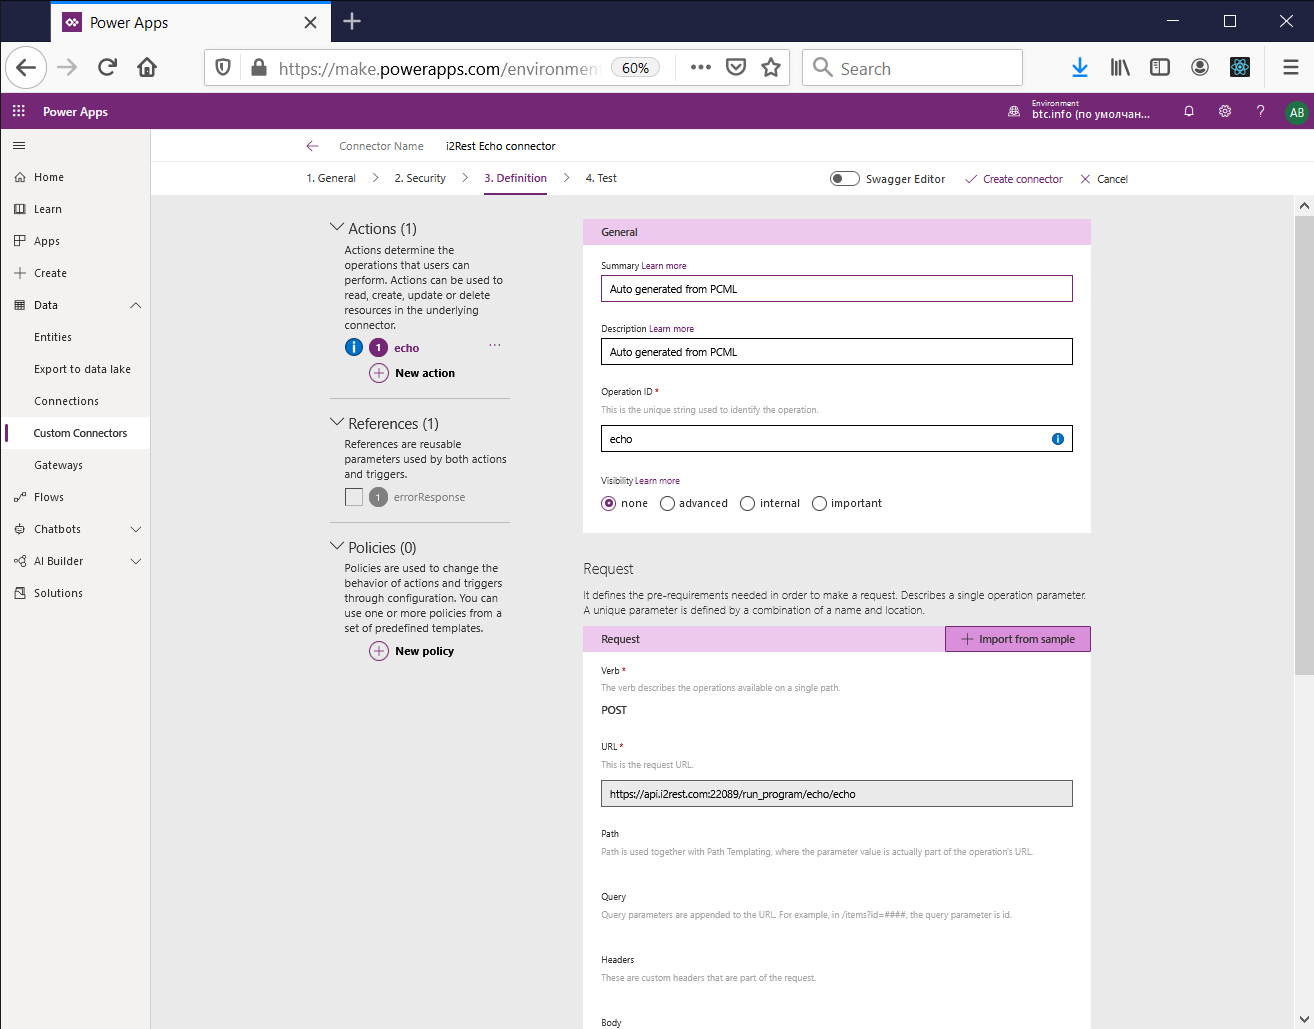
8. Press "Create connector" on top of screen, then click on "2. Security" tab:
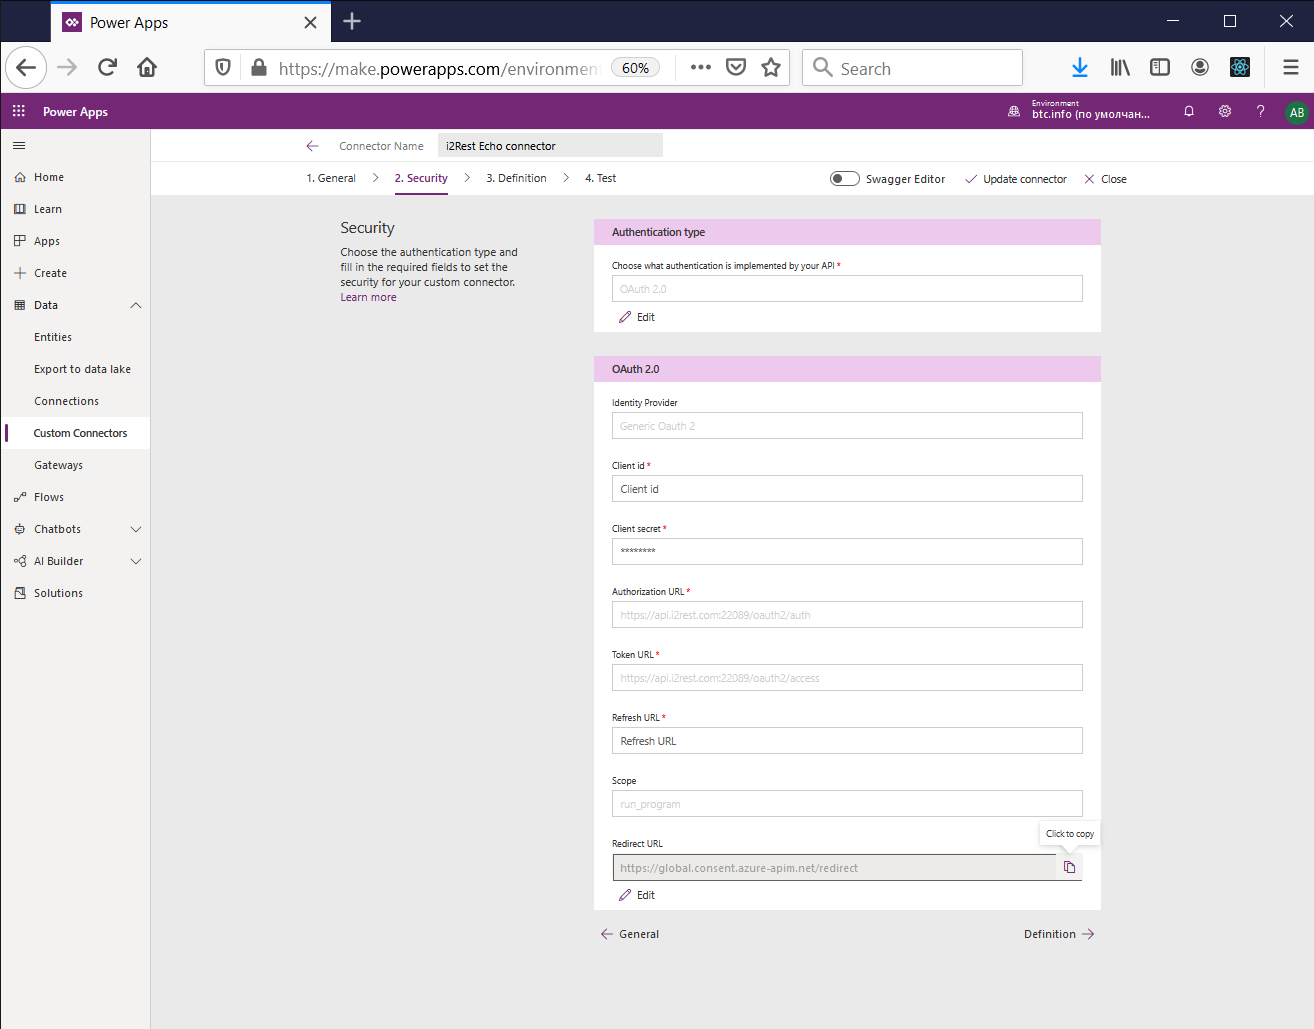
9. Copy value of field "Redirect URL" and paste it into the redirect_uri parameter in your i2Rest Server configuration file:
        "TSTCLNT":{"redirect_uri":"https://global.consent.azure-apim.net/redirect",
                  "description":"Test client",
                  "valid_scopes":["run_program"],
                  "valid_grant_types":["authorization_code"]}
10. Restart i2Rest Server to apply changed redirect_uri
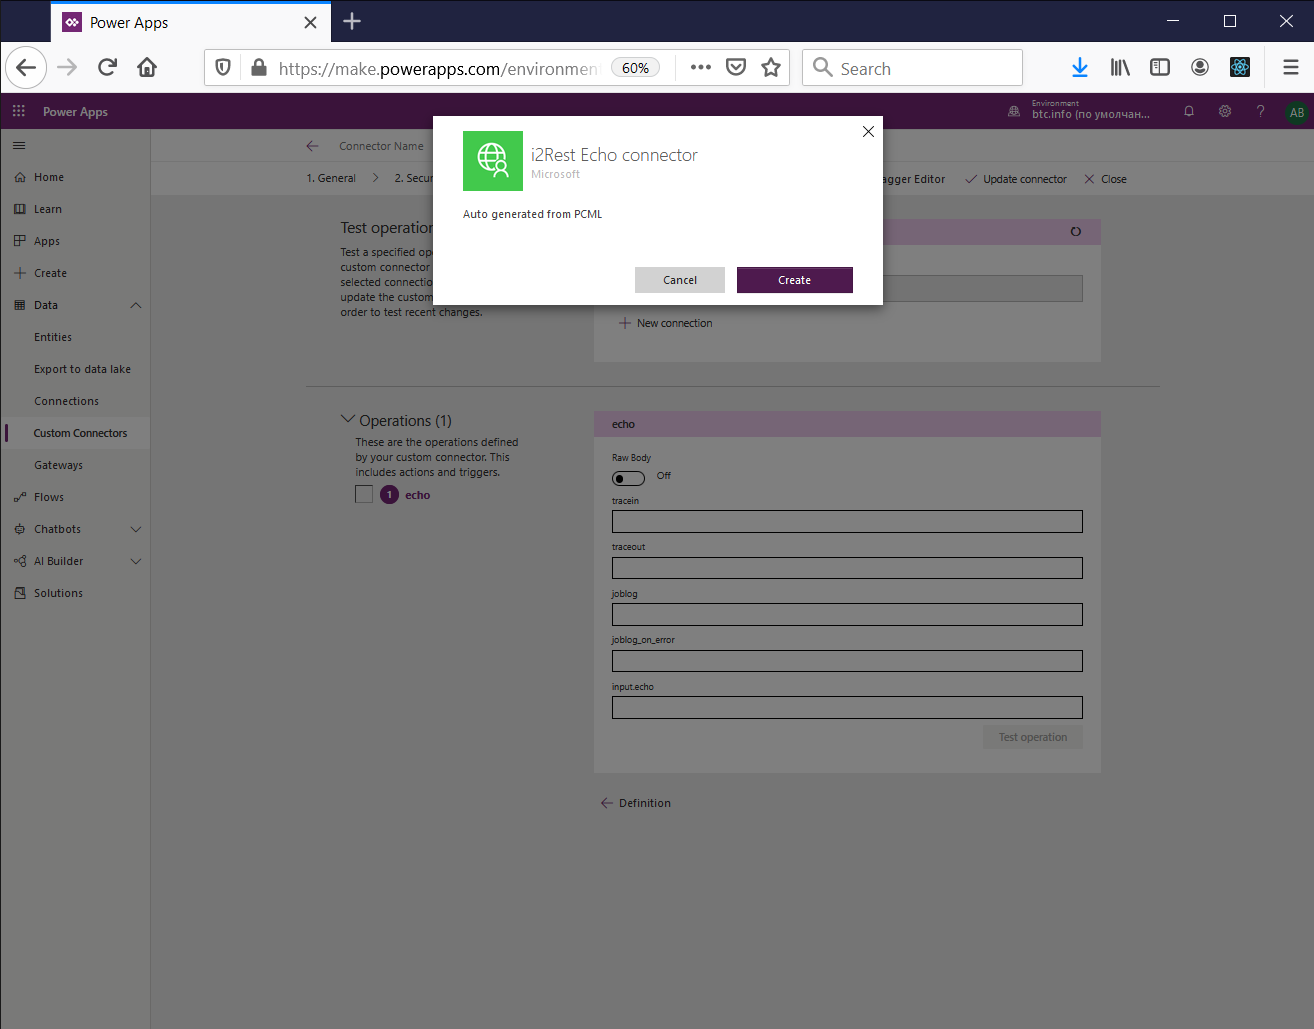
13. Press "Create". It will start OAuth2 authorization code and open Login page:
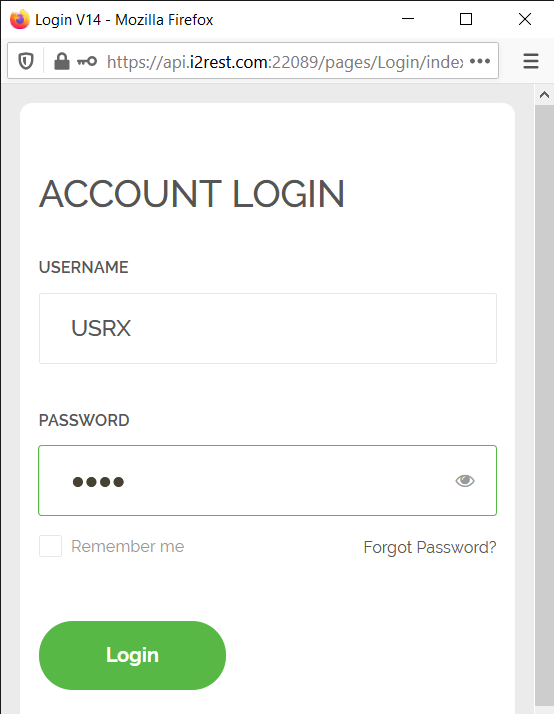
14. Enter IBM i user ID (i2Rest Server configuration file) and password and press Login:
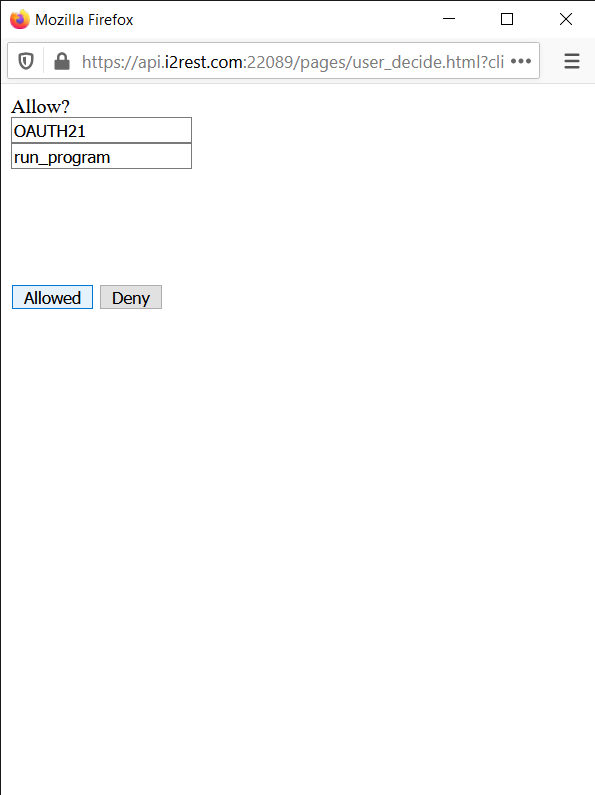
15. Press "Allowed" to allow client TSTCLNT to run programs on IBM i under authority of USRX. New connection will be created:
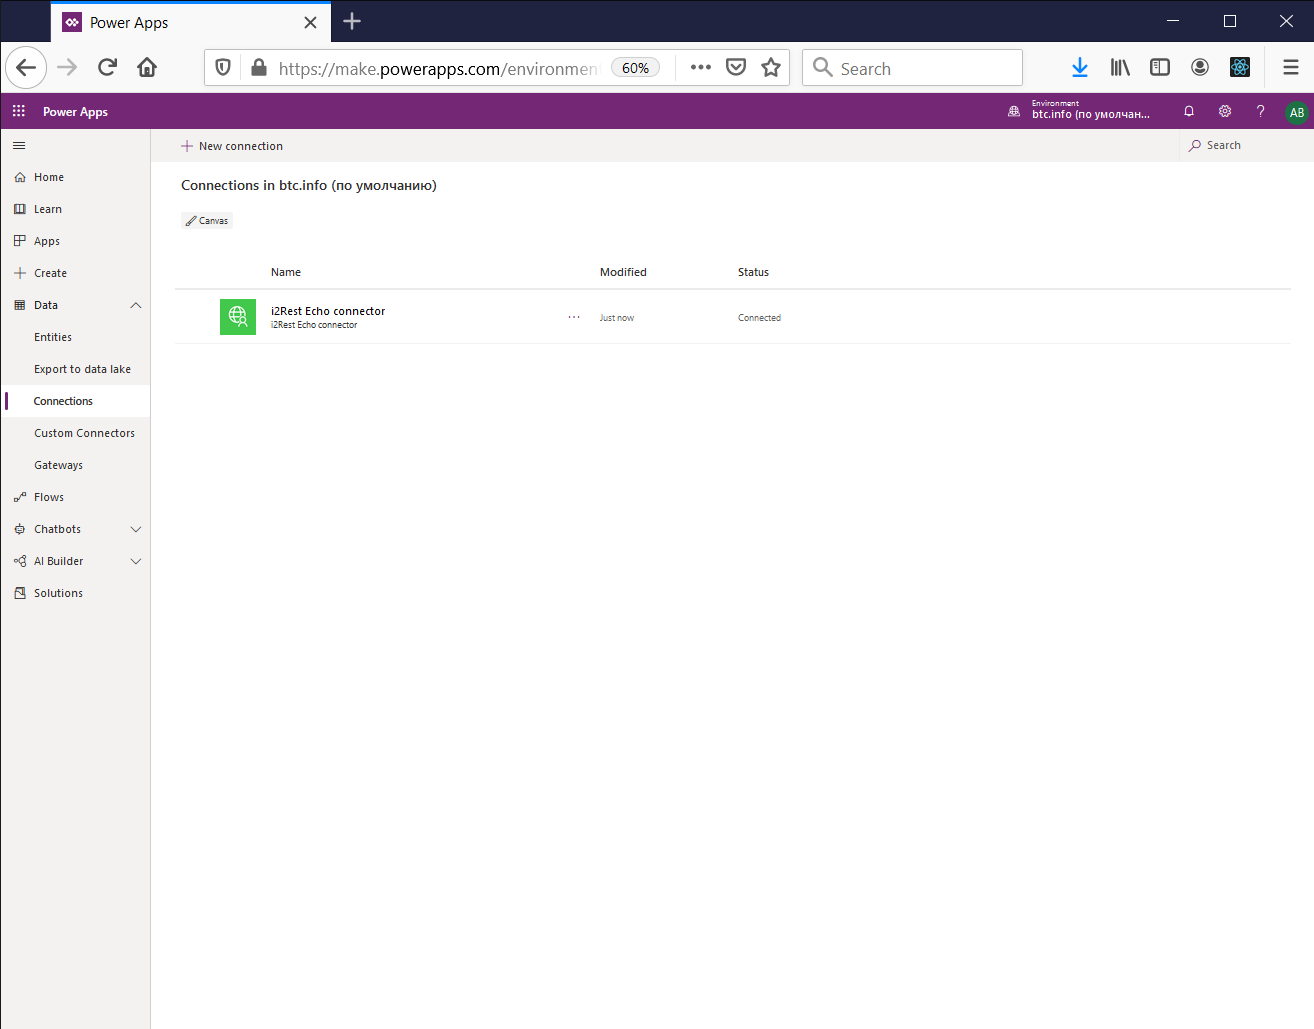
16. Go back to "Custom Connectors" tab:
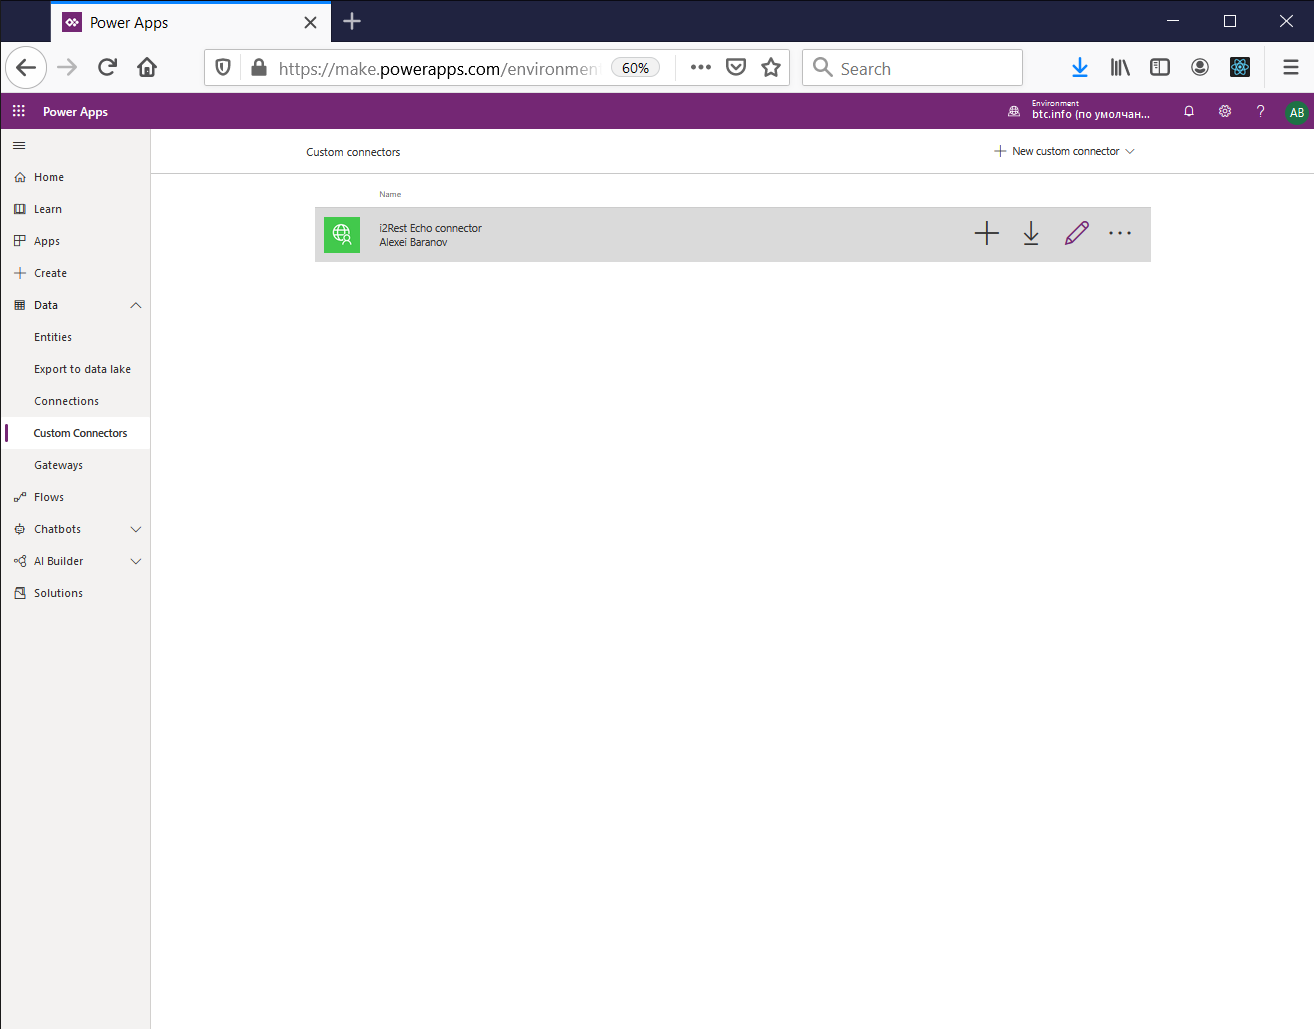
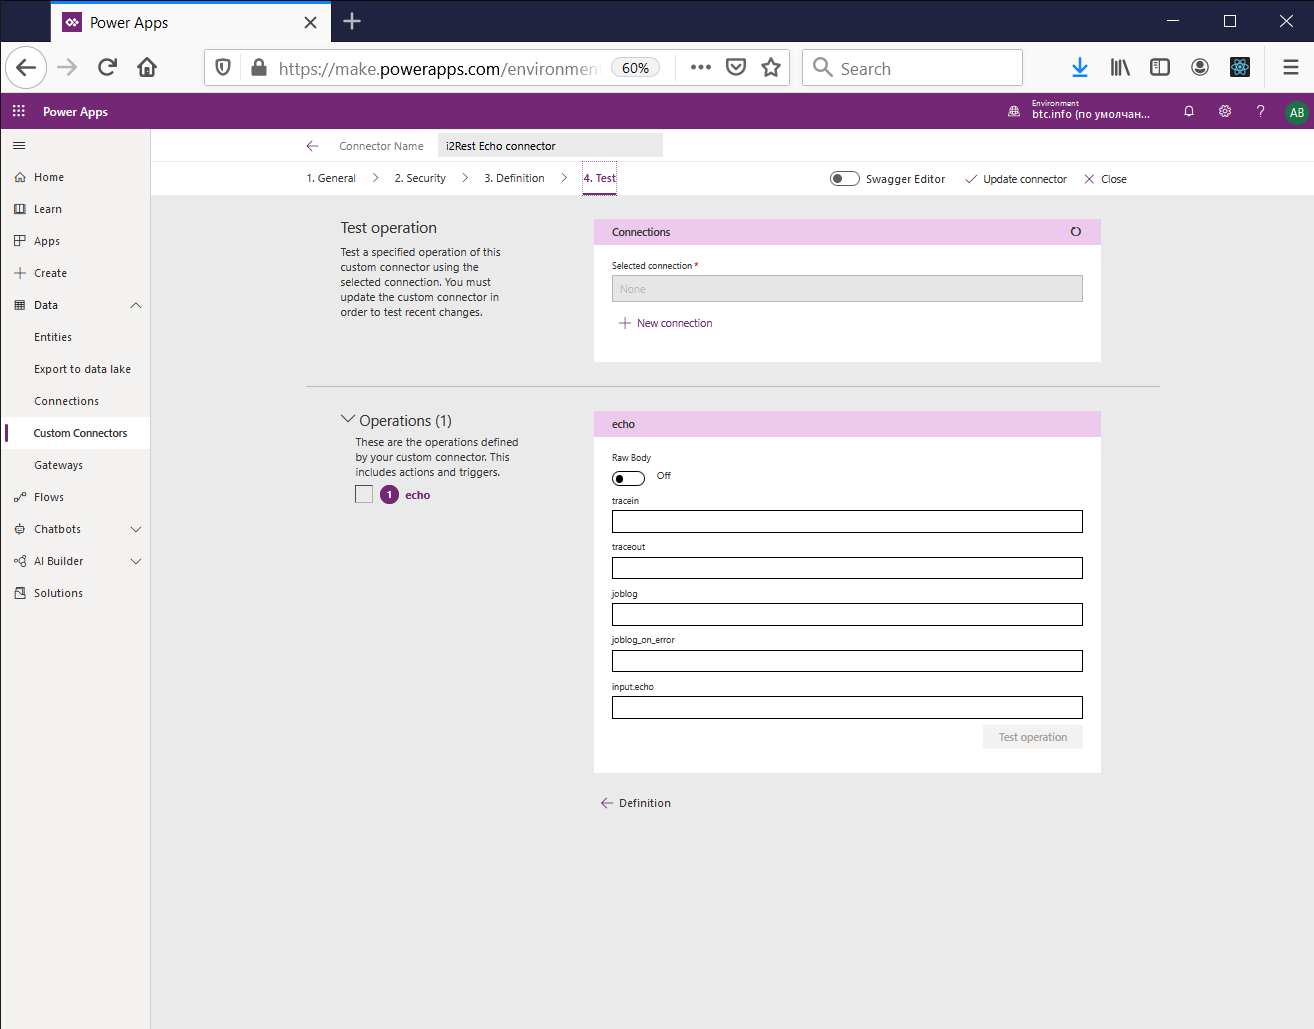
17. Press "Edit" (pencil icon) and go to "4. Test" tab, you'll see newly created connection in "Selected connection" field:
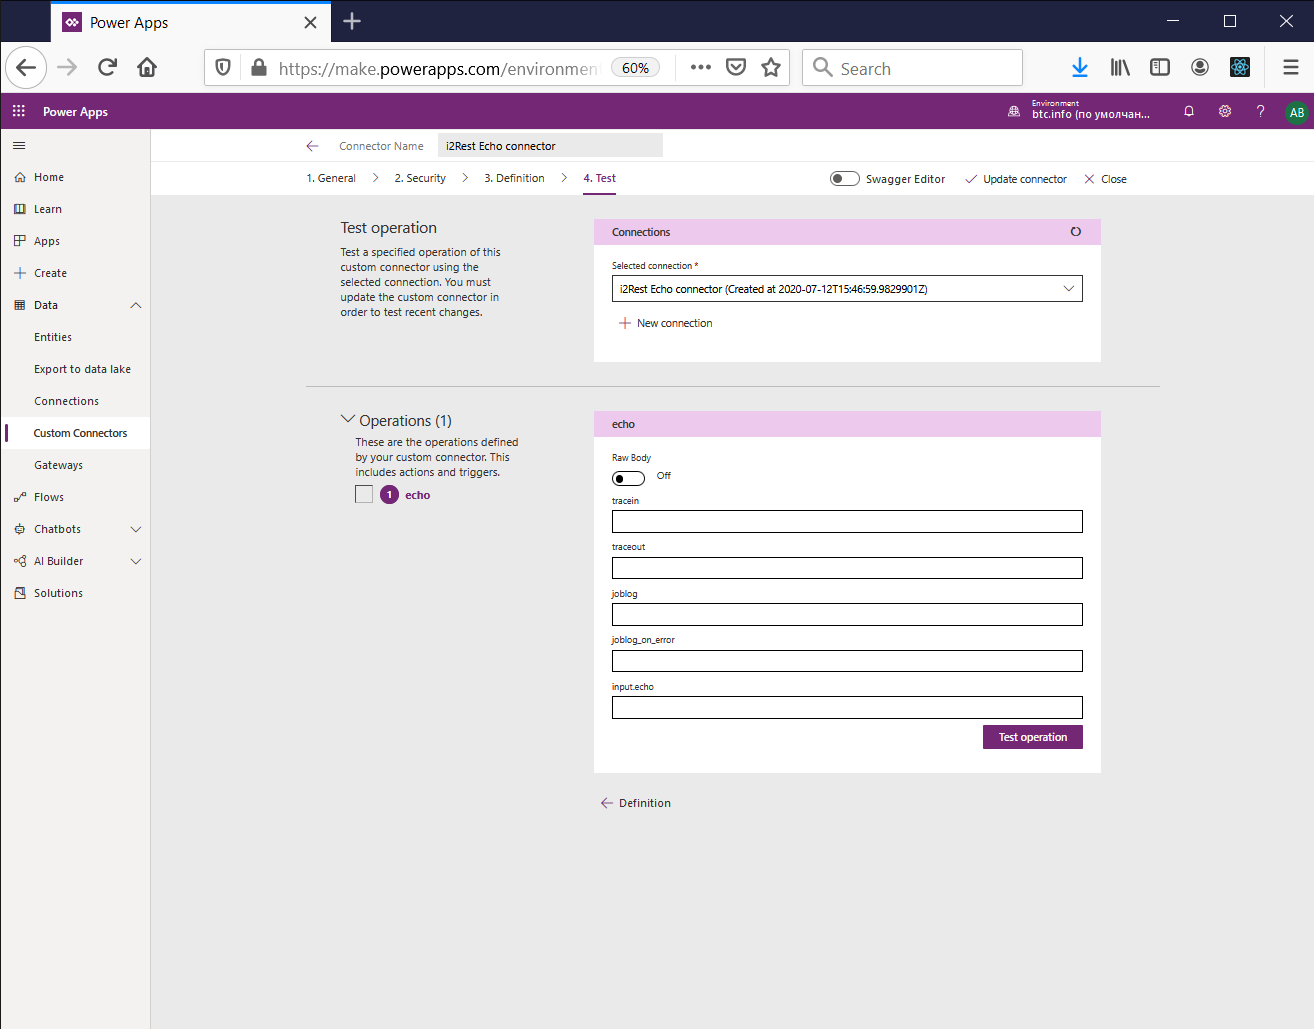
18. Enter operation parameters:
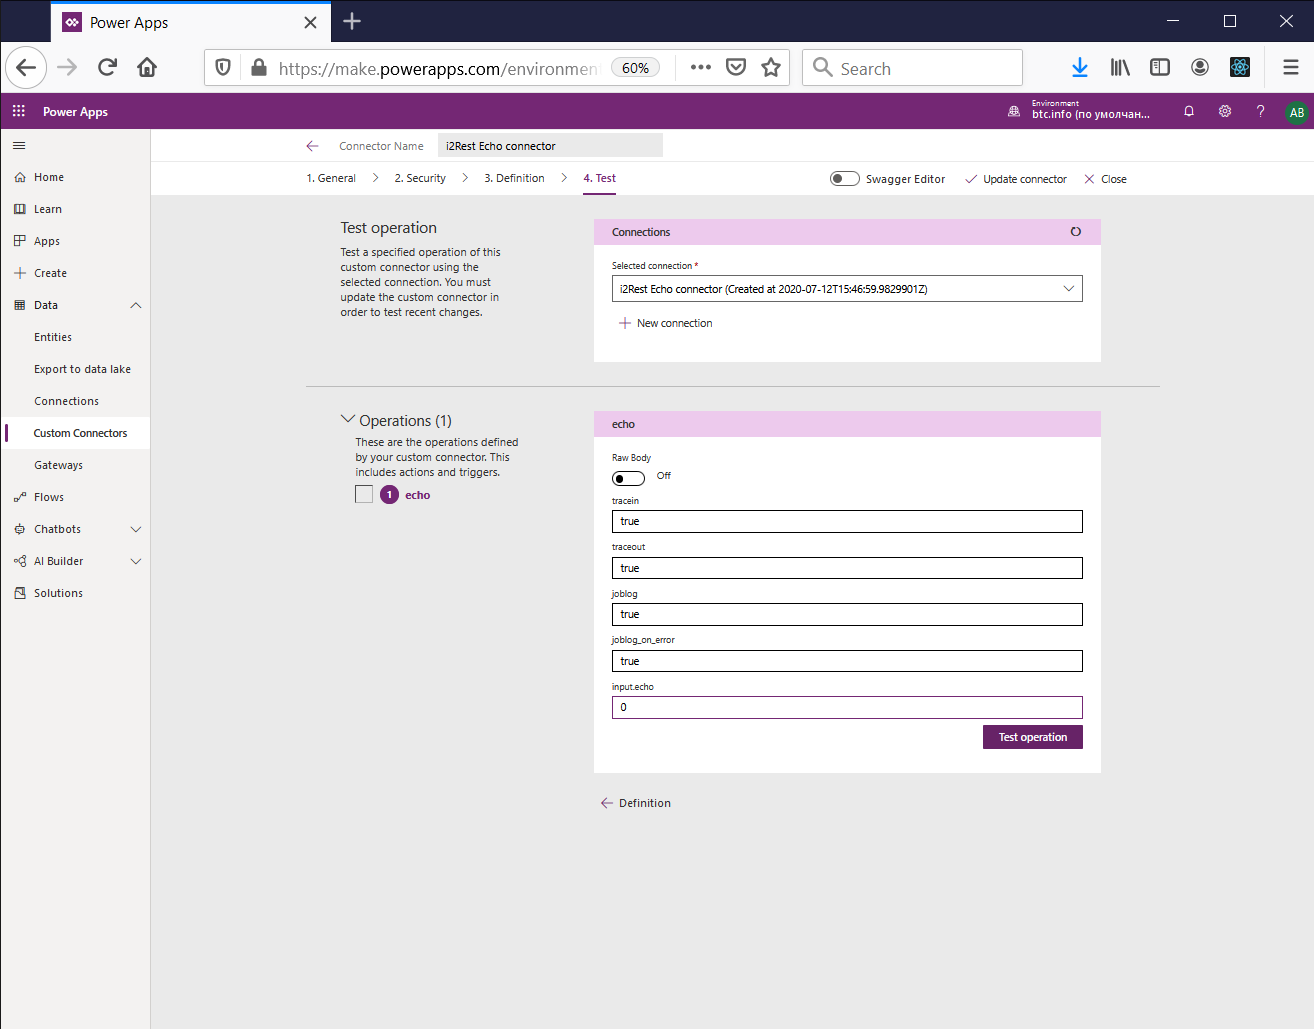
19. Press "Test operation" to call API using OAuth2 token:
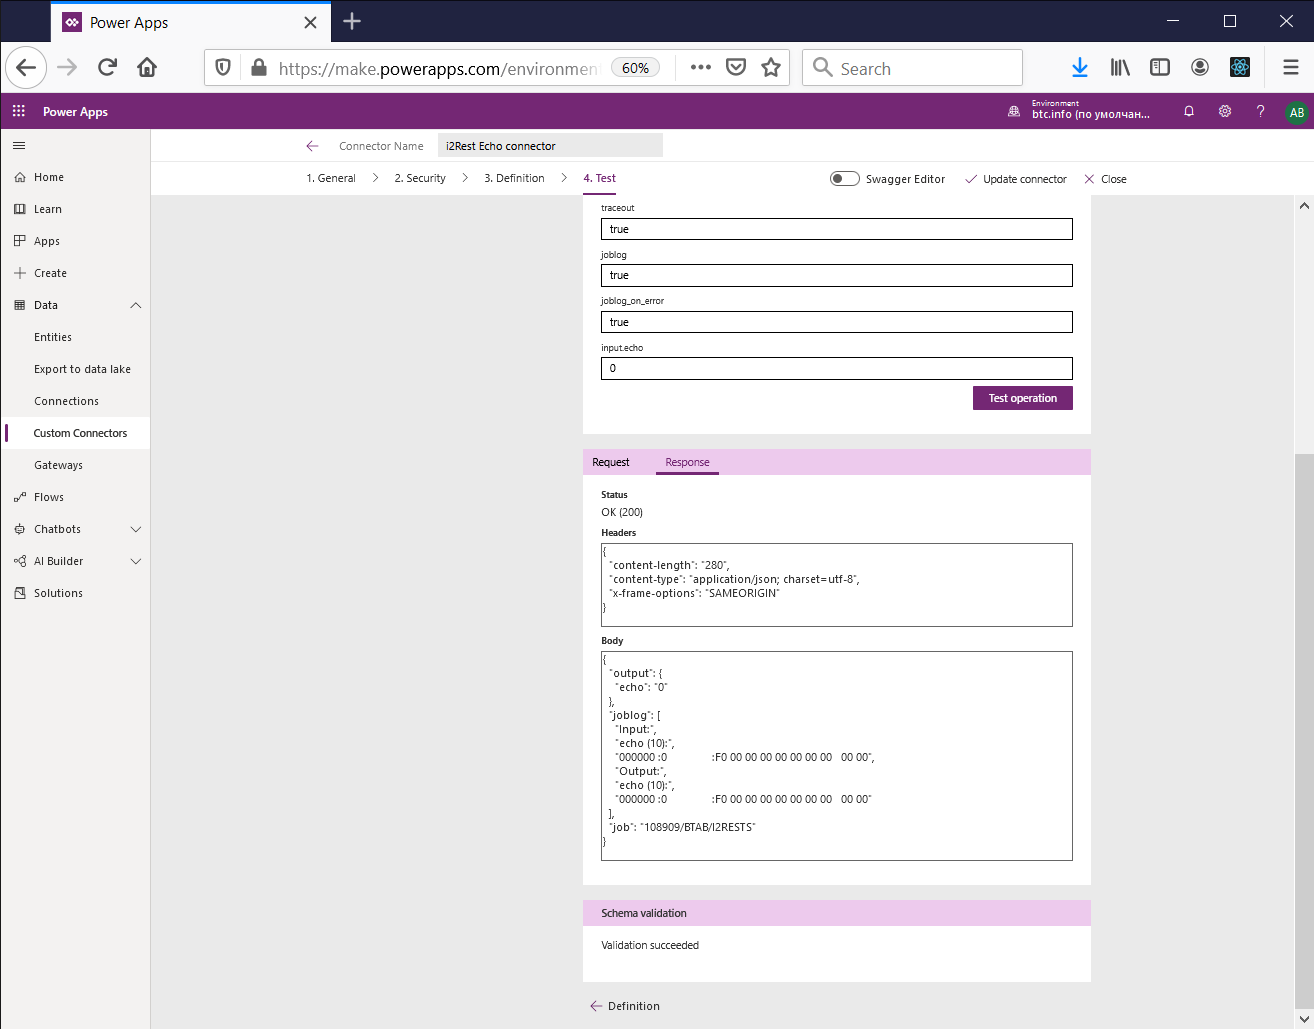
You'll see the response from i2Rest Server:

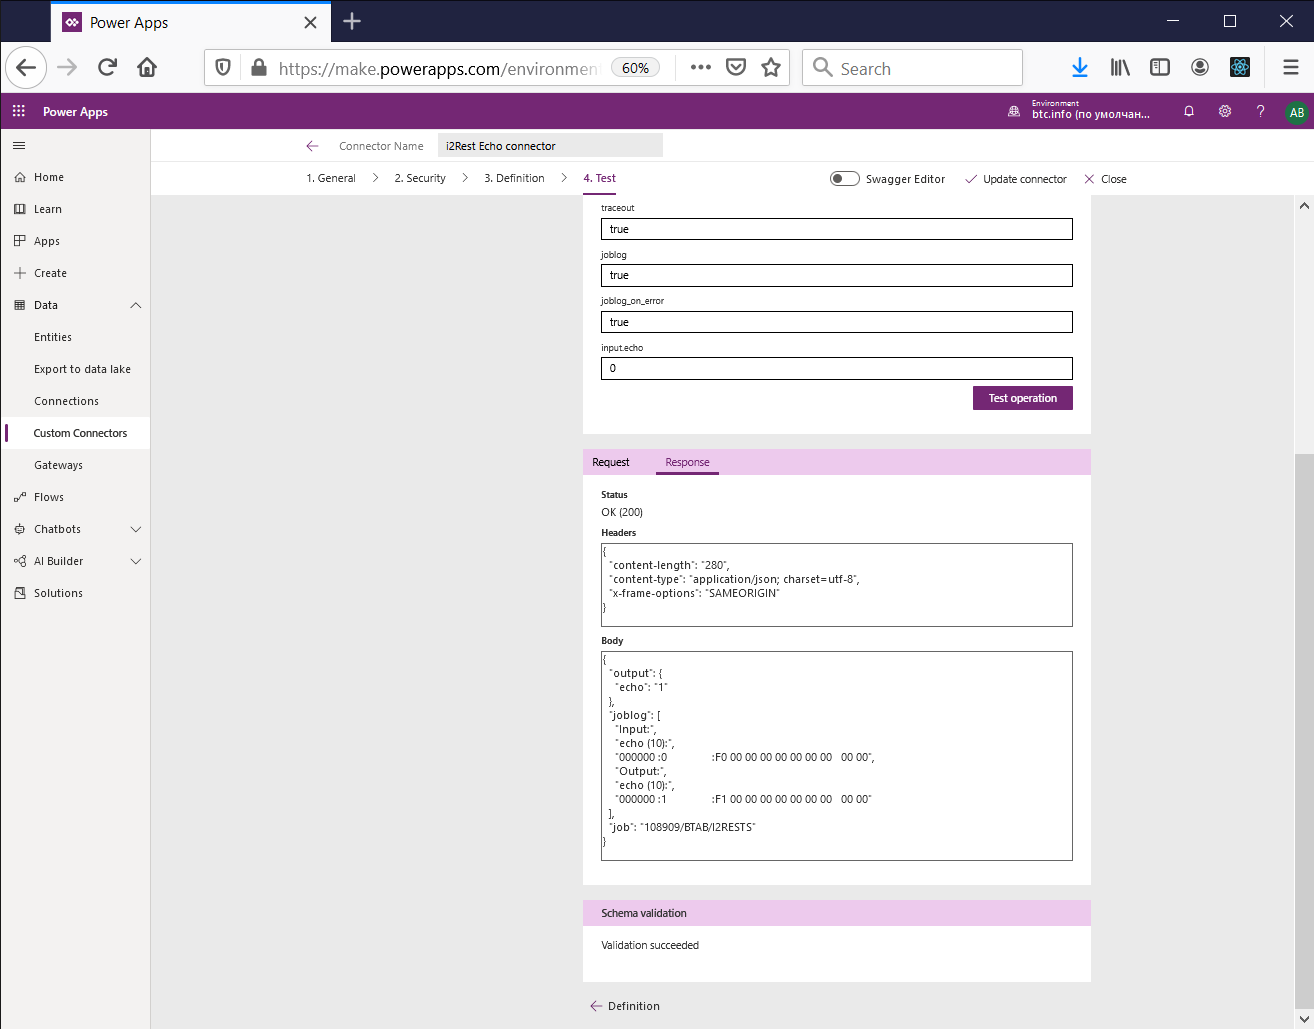
Press "Test operation" again - server will respond with incremented output.echo value, job will be the same:
We just finished creating a new MS Power Apps Custom connector to i2Rest Server.
