Difference between revisions of "Auth profile SoapUI"
Pavel.lobko (talk | contribs) (Created page with "{{DISPLAYTITLE:Testing Oauth2 authorization with SoapUI}} We assume that you already have Soap UI installed. If not, open source installation package could be found on https:...") |
m |
||
| (22 intermediate revisions by one other user not shown) | |||
| Line 1: | Line 1: | ||
{{DISPLAYTITLE:Testing Oauth2 authorization with SoapUI}} | {{DISPLAYTITLE:Testing Oauth2 authorization with SoapUI}} | ||
| − | |||
We assume that you already have Soap UI installed. If not, open source installation package could be found on https://www.soapui.org/downloads/soapui/.<BR> | We assume that you already have Soap UI installed. If not, open source installation package could be found on https://www.soapui.org/downloads/soapui/.<BR> | ||
| − | Run SOAP UI, | + | Run SOAP UI, if you alredy have a project, that you would like to update with authorization profile - go to it. Otherwise go to File ---> New REST Project. As an example we will create Managment Api call poject. Specify URI to request as follows:<br> |
| − | <pre>< | + | <pre><Managment Gate URL></pre> |
| − | where < | + | where <Managment Gate URL> is the value in your configuration *.json.<br> |
| − | <div style="padding-bottom:6px">[[File: | + | <div style="padding-bottom:6px">[[File:Auth_soapui_1.png]]<div> |
| − | + | Find Auth tab in the left bottom corner of the screen, then choose "Add New Authorization..." .<br> | |
| − | < | + | <div style="padding-bottom:6px">[[File:Auth_soapui_2.png|800px]]<div> |
| − | + | Choose "OAuth2.0" authorization type, profile name is up to you:<br> | |
| − | + | <div style="padding-bottom:6px">[[File:Auth_soapui_3.png]]<div> | |
| − | + | Now go to "Get token":<br> | |
| − | + | <div style="padding-bottom:6px">[[File:Auth-soapui-4.png|800px]]<div> | |
| − | + | Choose "Authorization Code Grant". The rest fields must be filled as follows:<br> | |
| − | + | :"Client identification" and "Client Secret" are the Login/Password of the IBM i user, defined as a i2Rest Server [[OAuth2_object#Clients|client]] in configuration *.json. | |
| − | < | + | :Assuming that you didn't change default settings in configuration *.json, "Authorization URI" and "Access Token URI" should look like <main gate url>/[[OAuth2_object#Endpoints|<value described |
| − | + | in OAuth2 object defenition>]].<br> | |
| − | <div style="padding-bottom:6px">[[File: | + | :"Redireсt URI" is a value, defined in [[OAuth2_object#Clients|Clients object]] in configuration *.json.<br> |
| − | + | :"Scopes" - the scope requred. The scope for management API call specified as an example.<br> <br> | |
| − | <div style="padding-bottom:6px">[[File: | + | Then click on "Get token". |
| + | <div style="padding-bottom:6px">[[File:Auth-soapui-5.png]]<div> | ||
| + | You will be prompted for a Login and a password. Login/Password of the IBM i user, defined in [[OAuth2_object#Users|Users object]] must be entered. | ||
| + | <div style="padding-bottom:6px">[[File:Auth-soapui-6.png|500px]]<div> | ||
| + | Now it's time to decide either access to a displayed client with displayed scope will be granted or denied. We beleive you click on "Allow" button... | ||
| + | <div style="padding-bottom:6px">[[File:Auth-soapui-7.png|500px]]<div> | ||
| + | Highlighted with green "Access Token" field shows us the symbols which are the token we obtained from the i2Rest Server. Now we are authorized to make requests to protected resources on it! | ||
| + | <div style="padding-bottom:6px">[[File:Auth-soapui-8.png|700px]]<div> | ||
Latest revision as of 20:47, 24 July 2020
We assume that you already have Soap UI installed. If not, open source installation package could be found on https://www.soapui.org/downloads/soapui/.
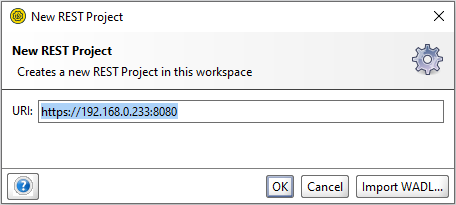
Run SOAP UI, if you alredy have a project, that you would like to update with authorization profile - go to it. Otherwise go to File ---> New REST Project. As an example we will create Managment Api call poject. Specify URI to request as follows:
<Managment Gate URL>
where <Managment Gate URL> is the value in your configuration *.json.
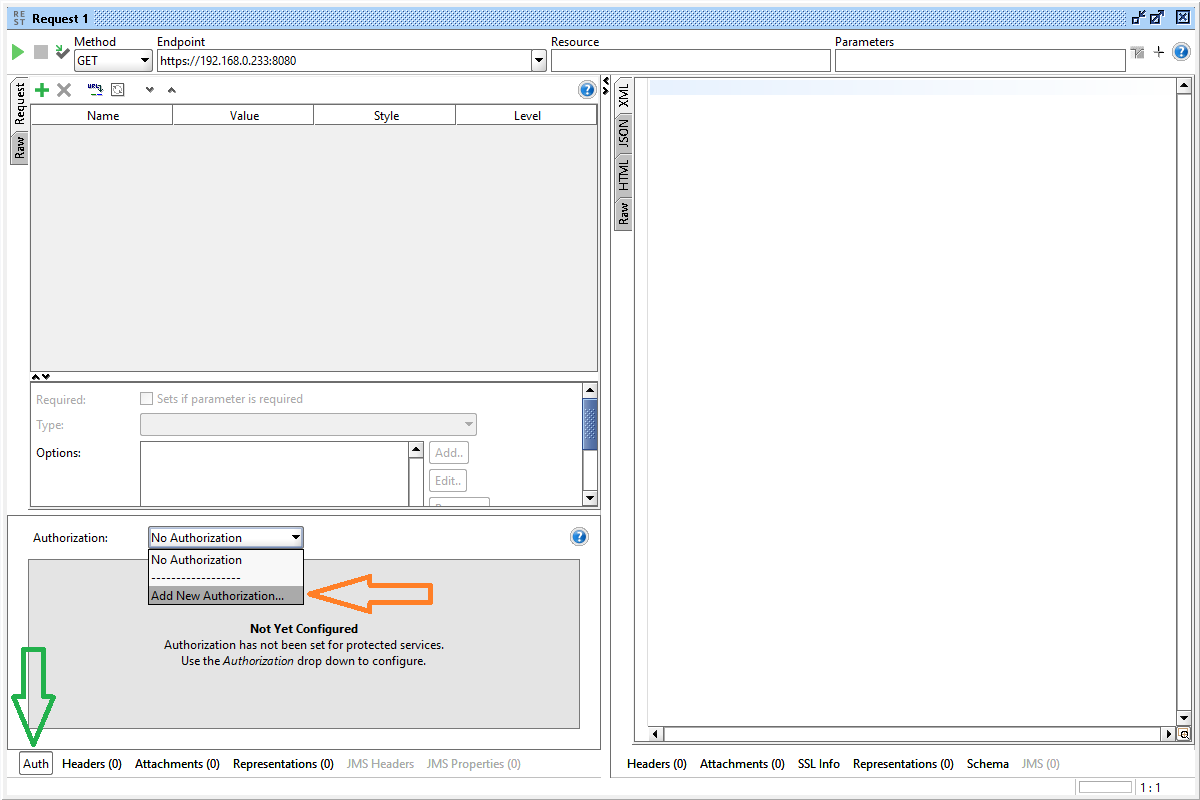
Find Auth tab in the left bottom corner of the screen, then choose "Add New Authorization..." .
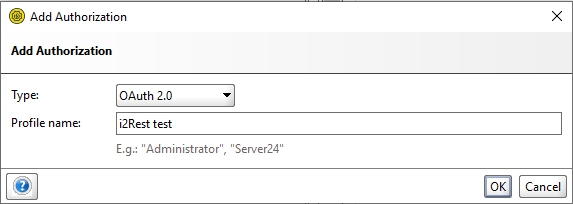
Choose "OAuth2.0" authorization type, profile name is up to you:
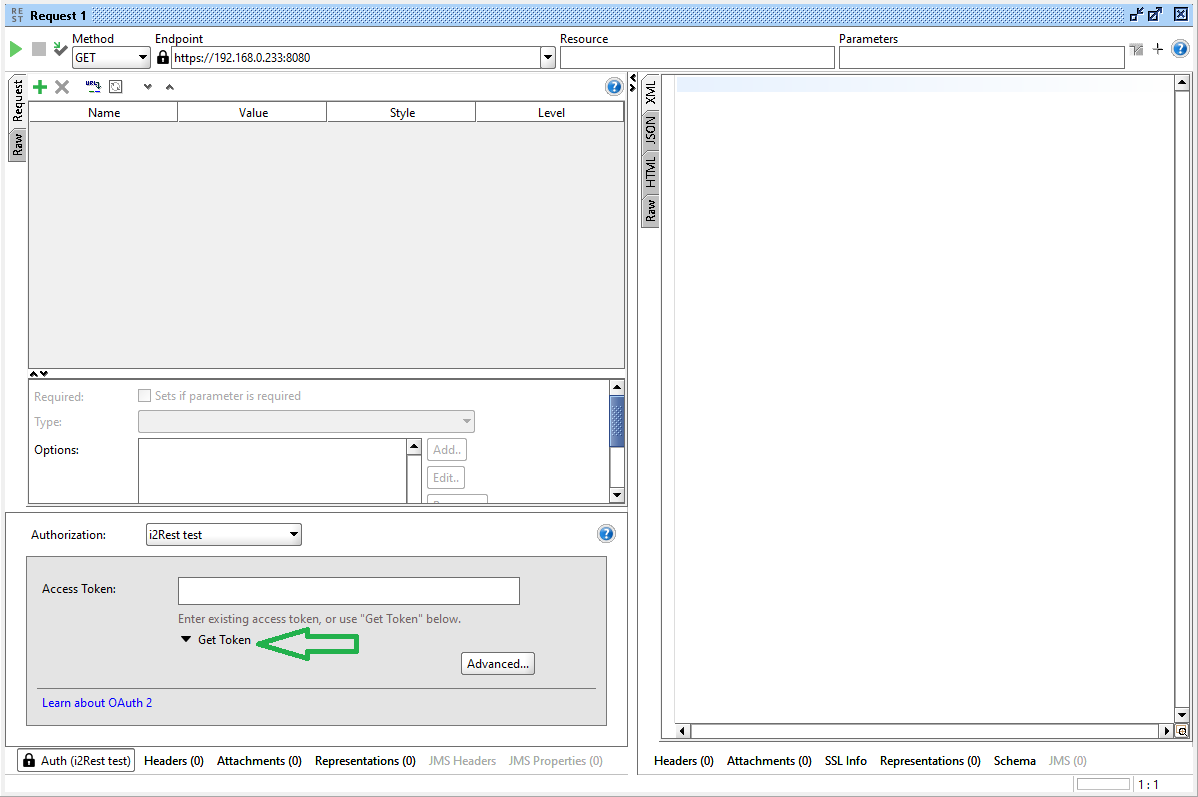
Now go to "Get token":
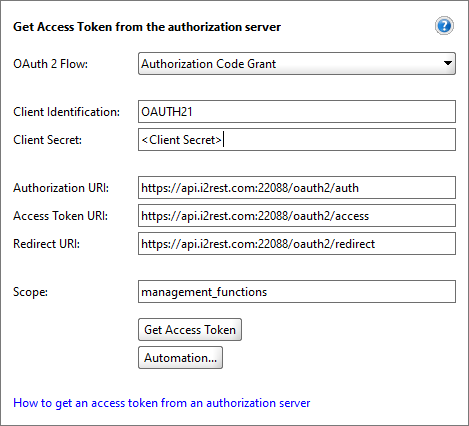
Choose "Authorization Code Grant". The rest fields must be filled as follows:
- "Client identification" and "Client Secret" are the Login/Password of the IBM i user, defined as a i2Rest Server client in configuration *.json.
- Assuming that you didn't change default settings in configuration *.json, "Authorization URI" and "Access Token URI" should look like <main gate url>/<value described
in OAuth2 object defenition>.
- "Redireсt URI" is a value, defined in Clients object in configuration *.json.
- "Scopes" - the scope requred. The scope for management API call specified as an example.
Then click on "Get token".
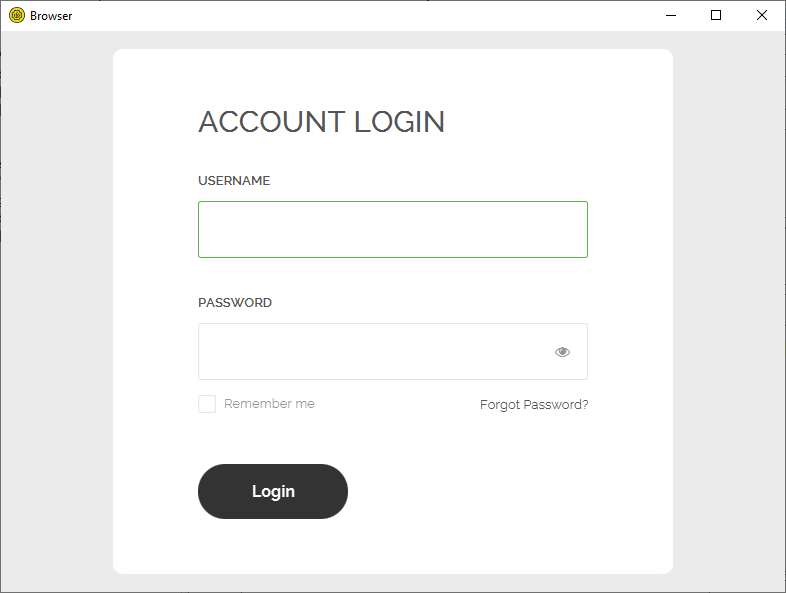
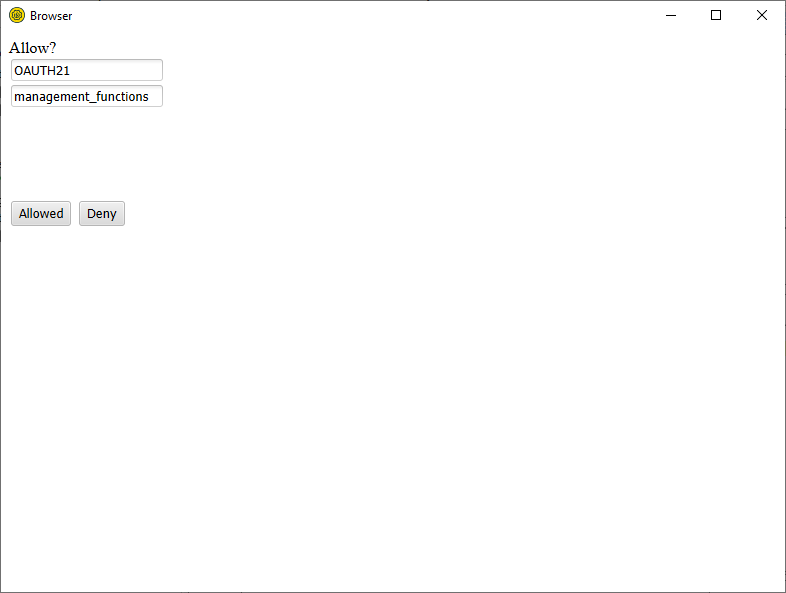
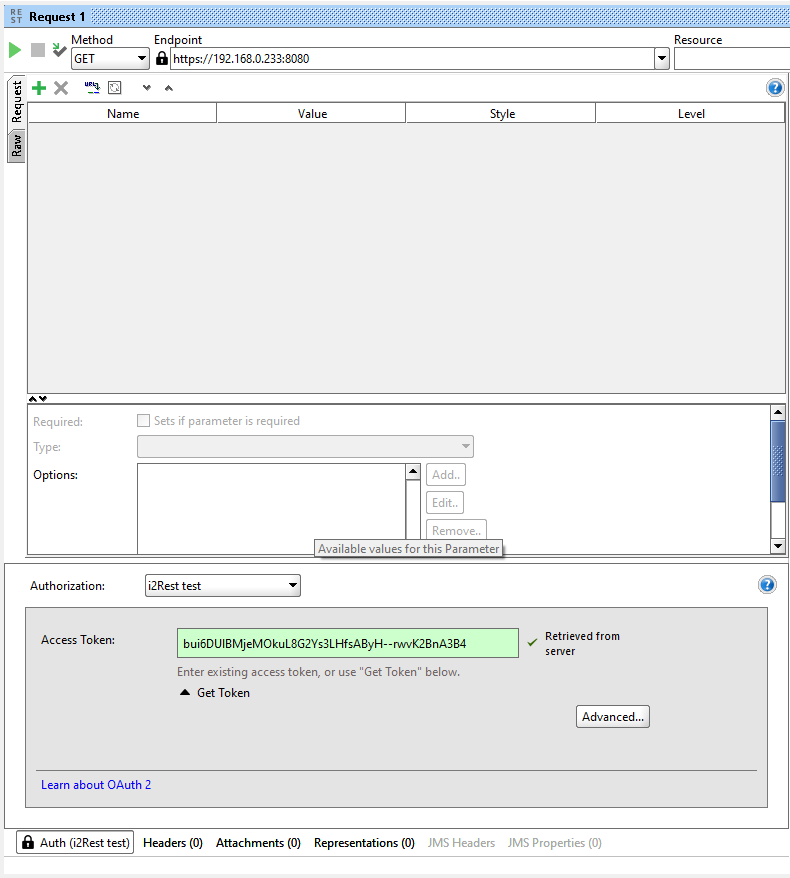
You will be prompted for a Login and a password. Login/Password of the IBM i user, defined in Users object must be entered.
