Difference between revisions of "Auth profile SoapUI"
Pavel.lobko (talk | contribs) |
Pavel.lobko (talk | contribs) |
||
| Line 13: | Line 13: | ||
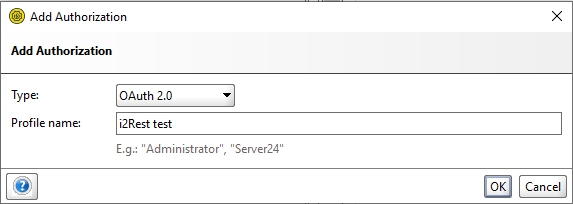
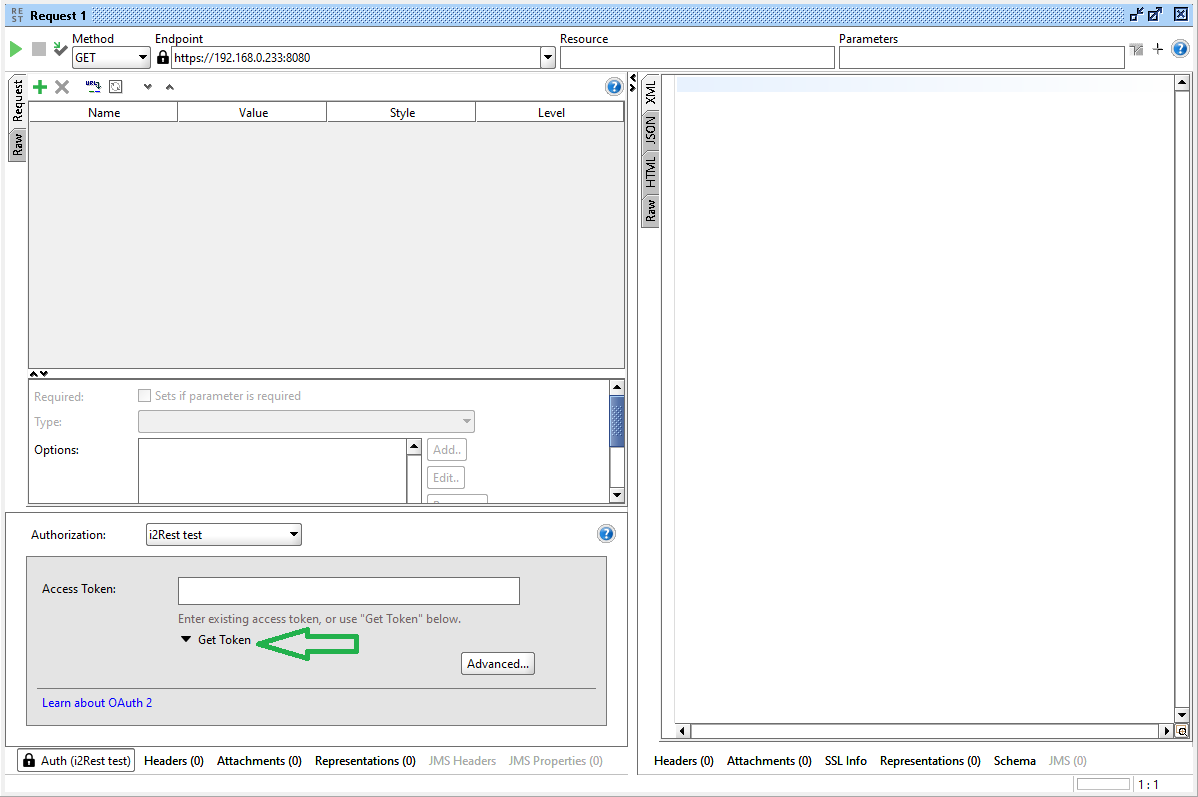
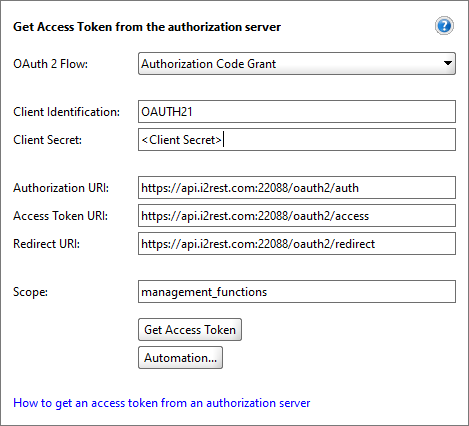
Choose "Authorization Code Grant". The rest fields must be filled as follows:<br> | Choose "Authorization Code Grant". The rest fields must be filled as follows:<br> | ||
<div style="padding-bottom:6px">[[File:Auth-soapui-5.png]]<div> | <div style="padding-bottom:6px">[[File:Auth-soapui-5.png]]<div> | ||
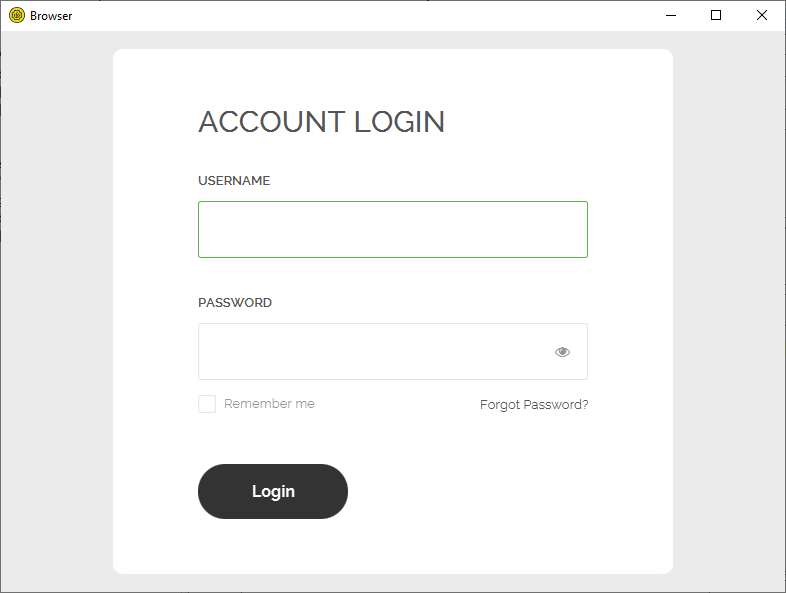
| + | <div style="padding-bottom:6px">[[File:Auth-soapui-6.png]]<div> | ||
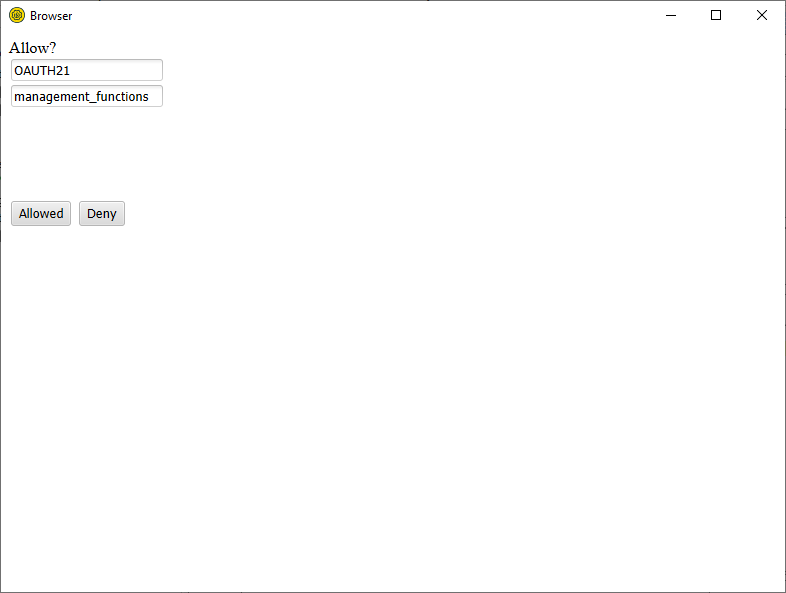
| + | <div style="padding-bottom:6px">[[File:Auth-soapui-7.png]]<div> | ||
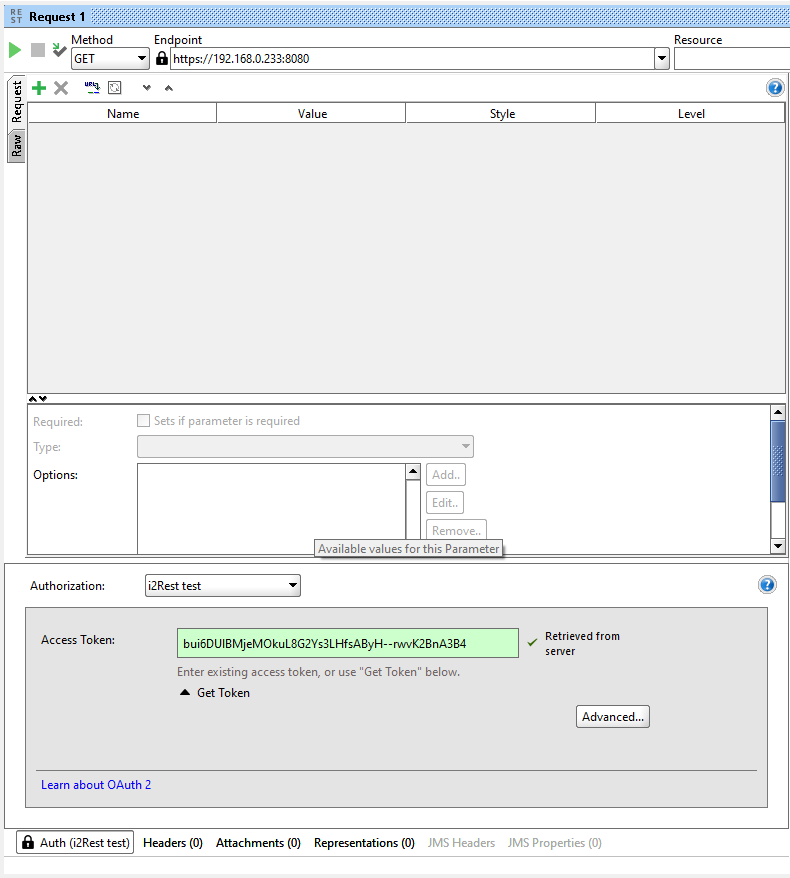
| + | <div style="padding-bottom:6px">[[File:Auth-soapui-8.png]]<div> | ||
Revision as of 17:14, 25 June 2020
We assume that you already have Soap UI installed. If not, open source installation package could be found on https://www.soapui.org/downloads/soapui/.
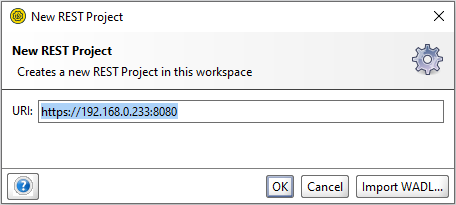
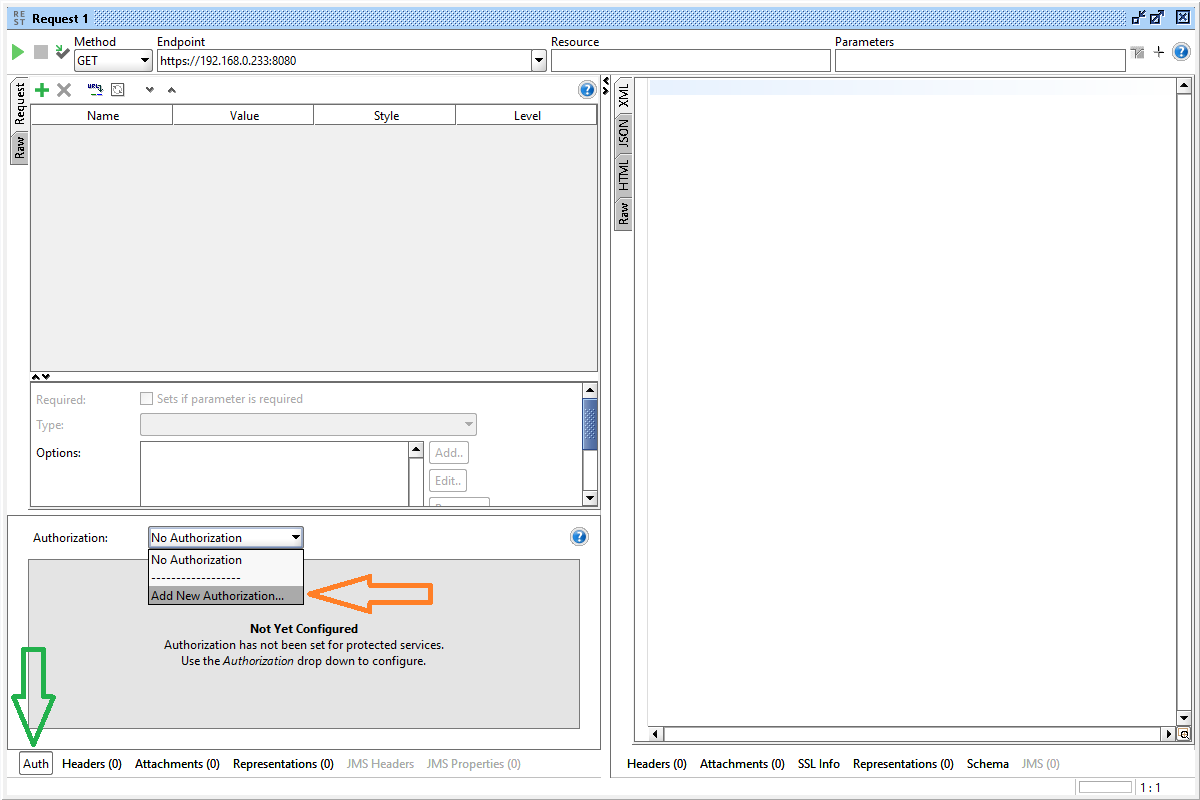
Run SOAP UI, if you alredy have a project, you would like to update with authorization profile - go to it. Otherwise go to File ---> New REST Project. As an example we will create Managment Api call poject. Specify URI to request as follows:
<Managment Gate URL>
where <Managment Gate URL> is the value in your configuration *.json.
